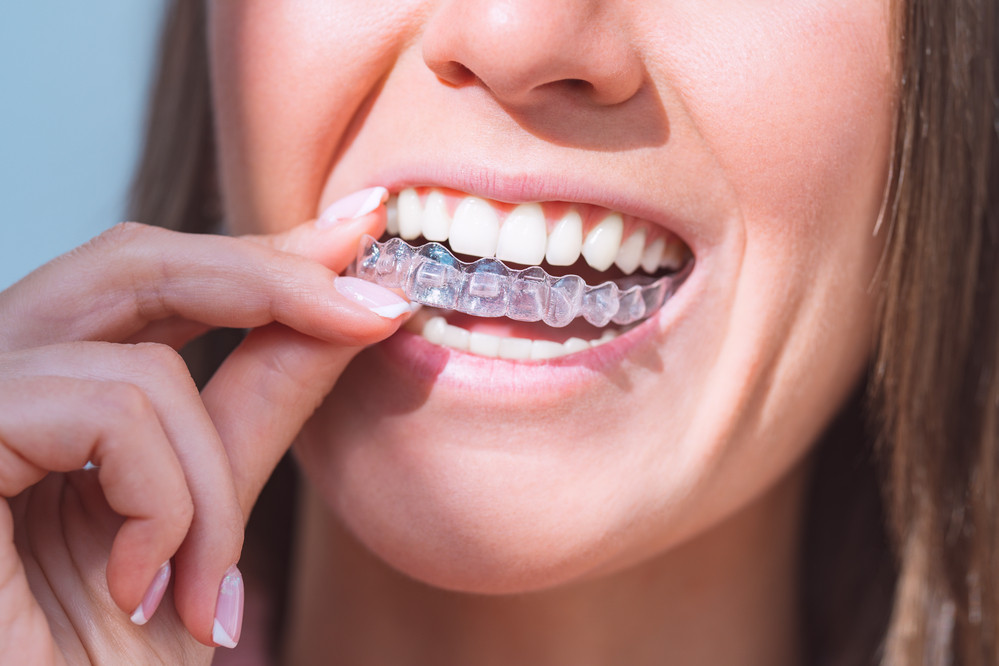
Are you looking for an effective way to brighten your smile from the comfort of your home? Dr. Robert Passamano, a board-certified orthodontist, shares a simple and safe method for teeth whitening using custom trays, such as clear retainers or Invisalign trays.
What You Need:
- Custom Tray: Utilize your custom clear retainer or Invisalign tray.
- Teeth Whitening Gel: Opt for a 10% carbamide peroxide gel for overnight whitening.
- Brush: Have a toothbrush handy for cleaning up any residual gel.
How to Whiten:
- Start with a clean slate by brushing and flossing your teeth to remove food particles.
- Apply a small drop of whitening gel only to the front surfaces of your teeth; optional to whiten the back molars if you have a wide smile.
- Insert the tray in front of a mirror to ensure the gel stays on your teeth and doesn’t touch your gums (LOOK at the gel).
- Wipe off any excess gel that extends onto your gums with your finger.
- The duration of whitening depends on the gel’s concentration. With 10% carbamide peroxide, overnight use is ideal.
Tips and FAQs:
- To maintain your results, avoid hot or cold beverages like coffee, tea, or orange juice immediately after whitening.
- Teeth with attachments during Invisalign treatment may not respond well to whitening due to gel limitations.
- Dental crowns and fillings do not whiten, so the focus should be on natural teeth.
- Reduce sensitivity by whitening consistently over several weeks, rather than all at once.
- One syringe of gel can generally provide about four uses.
Results:
Expect noticeable whitening within about a month of consistent use, resulting in a brighter and more confident smile.
With these tips and Dr. Passamano’s guidance, you can embark on your teeth-whitening journey from the comfort of your home. Remember to practice patience and consistency for the best results. Enjoy your radiant smile!

